Roof Cleaning: The Tidy-Up
Professional Roof cleaning can be an incredibly rewarding job, but it doesn’t end when the roof is spotless. The clean-up process is just as important to ensure that no debris is left behind and the surrounding areas are just as tidy as the roof itself. A thorough tidy-up involves several key steps that need to be done methodically. Here’s how to go about it.
Pre-Roof Clean Setup
Before the cleaning process even begins, it’s essential to prepare the area when you are planning for a roof clean. This preparation helps ensure safety and protects the surroundings from any potential damage during the cleaning.
Start by laying down tarpaulins around the perimeter of the house. This will catch falling debris and protect your driveway, garden, and anything that could get damaged. If you’re working near delicate plants or garden furniture, make sure these are moved away or covered to prevent damage from debris or roof cleaning chemicals.
’Next, move any furniture or items that could get in the way or be damaged during the clean. This includes garden chairs, ornaments, or anything on patios or balconies. The last thing you want is to accidentally knock something over during the job. Also, make sure that electrical devices, like garden lights or power outlets, are properly protected or switched off to avoid any electrical hazards.
The Roof Clean-Up Process
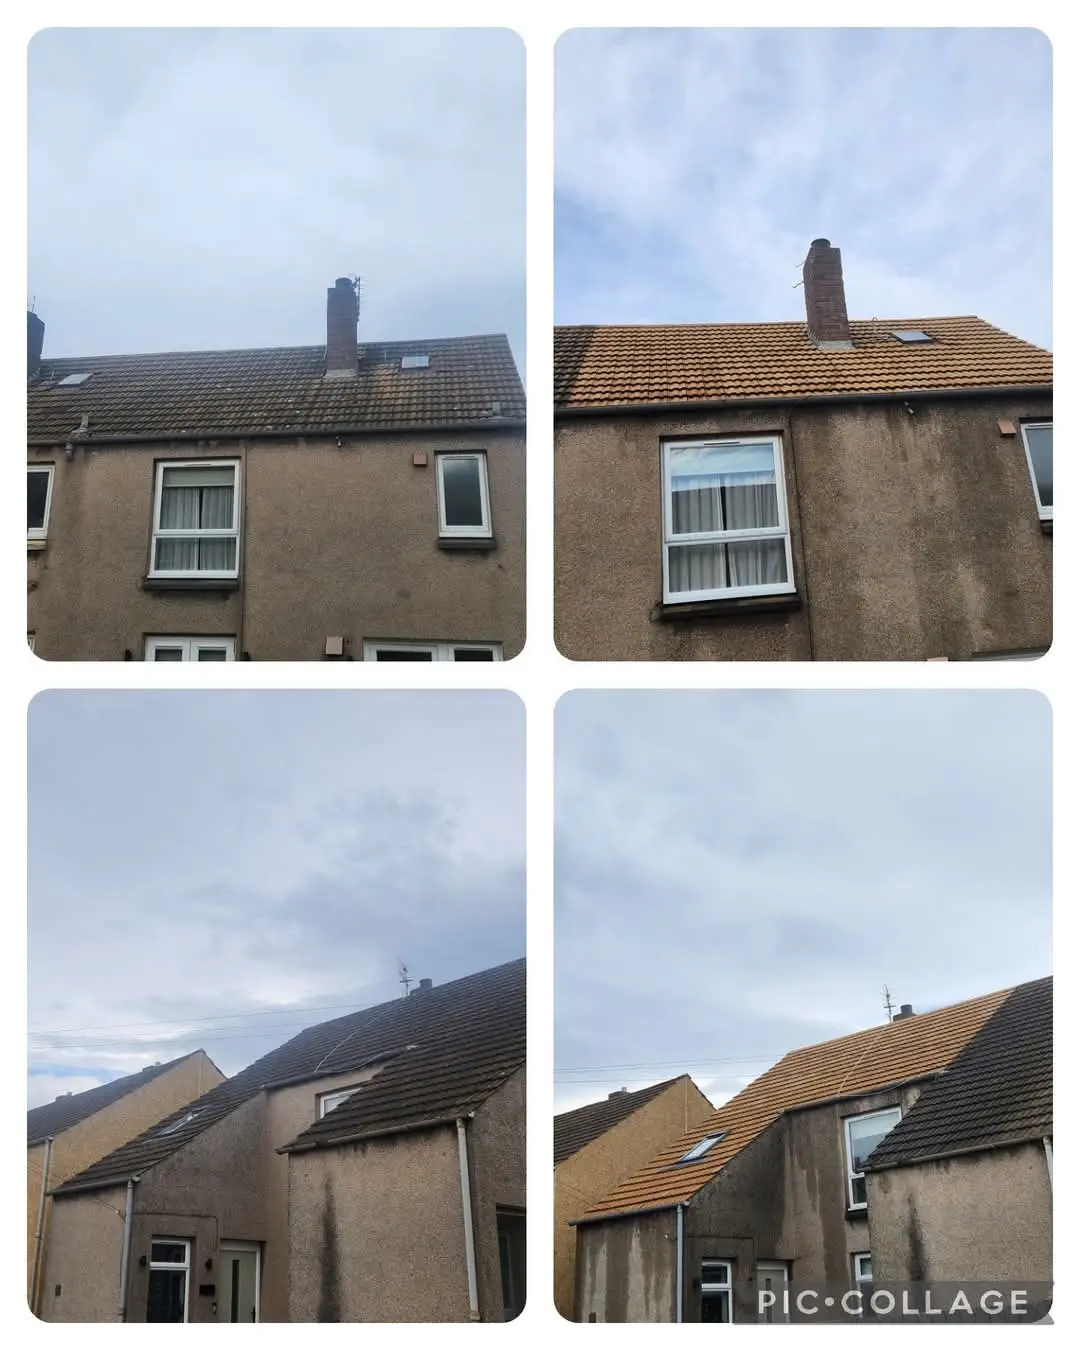
Once the roof is cleaned, you’ll notice a lot of debris has fallen onto the ground. This is where the post-clean-up comes in. It’s important to remember that this stage can take time, but it’s essential for achieving a proper finish.
Start by cleaning up any debris that has fallen onto the tarpaulins or the ground. Use bin bags to collect the waste. This might include moss, leaves, dirt, or any other material that was removed from the roof. It’s best to use multiple bags to separate the different materials as you go. This not only helps with disposal but also makes the whole process more organised.
For the smaller bits of debris, brushes can be used to sweep them up into piles. This ensures that everything is gathered and nothing is left behind. Don’t rush this part of the process. A tidy site is just as important as a clean roof.
Cleaning Adjacent Areas
Once the roof and the ground are sorted, it’s time to turn your attention to the areas around the house. Often, debris can end up on walls, render, or the neighbour’s property. It’s important to rinse down walls and any surrounding surfaces that may have gotten dirty during the clean. This helps remove dirt and ensures the entire property looks well-maintained.
If the clean-up has affected any areas on neighbouring properties, it’s essential to check with your neighbours and ensure they’re happy with the results. Sometimes debris can drift onto adjoining areas, so it’s a courteous gesture to make sure they’re satisfied before leaving. Good communication goes a long way, especially in close-knit communities.
Gutter Cleaning
During the roof cleaning, debris often makes its way into the gutters. It’s a good idea to inspect and clean the gutters once you’ve finished the main clean. Clogged gutters can cause water damage to the house, so making sure they are free of debris is an important part of the job. A clean gutter helps keep the house dry and well-maintained.
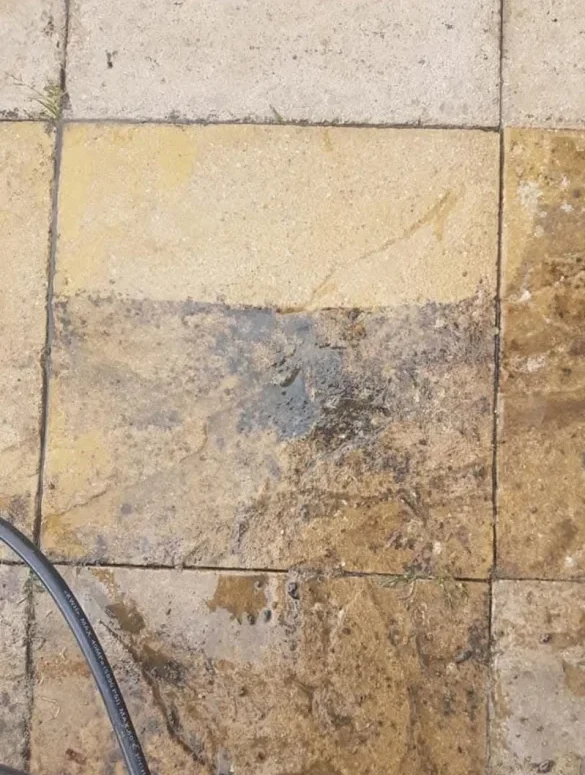
Rinsing Down Driveways and Patios
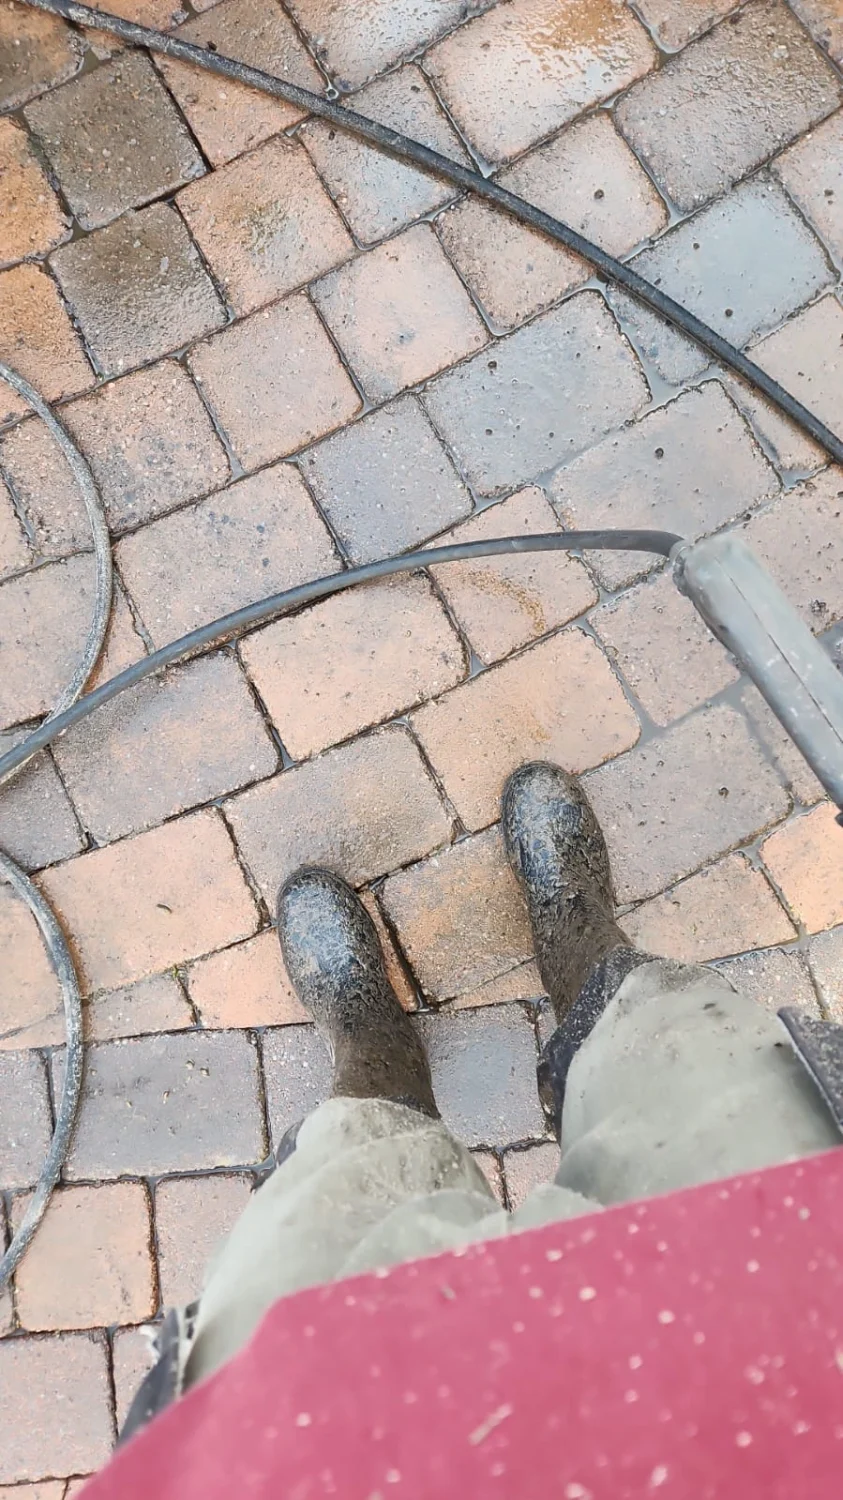
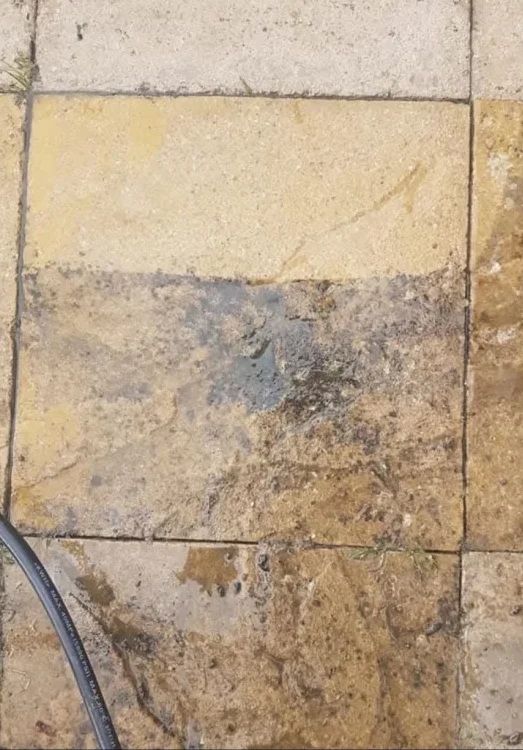
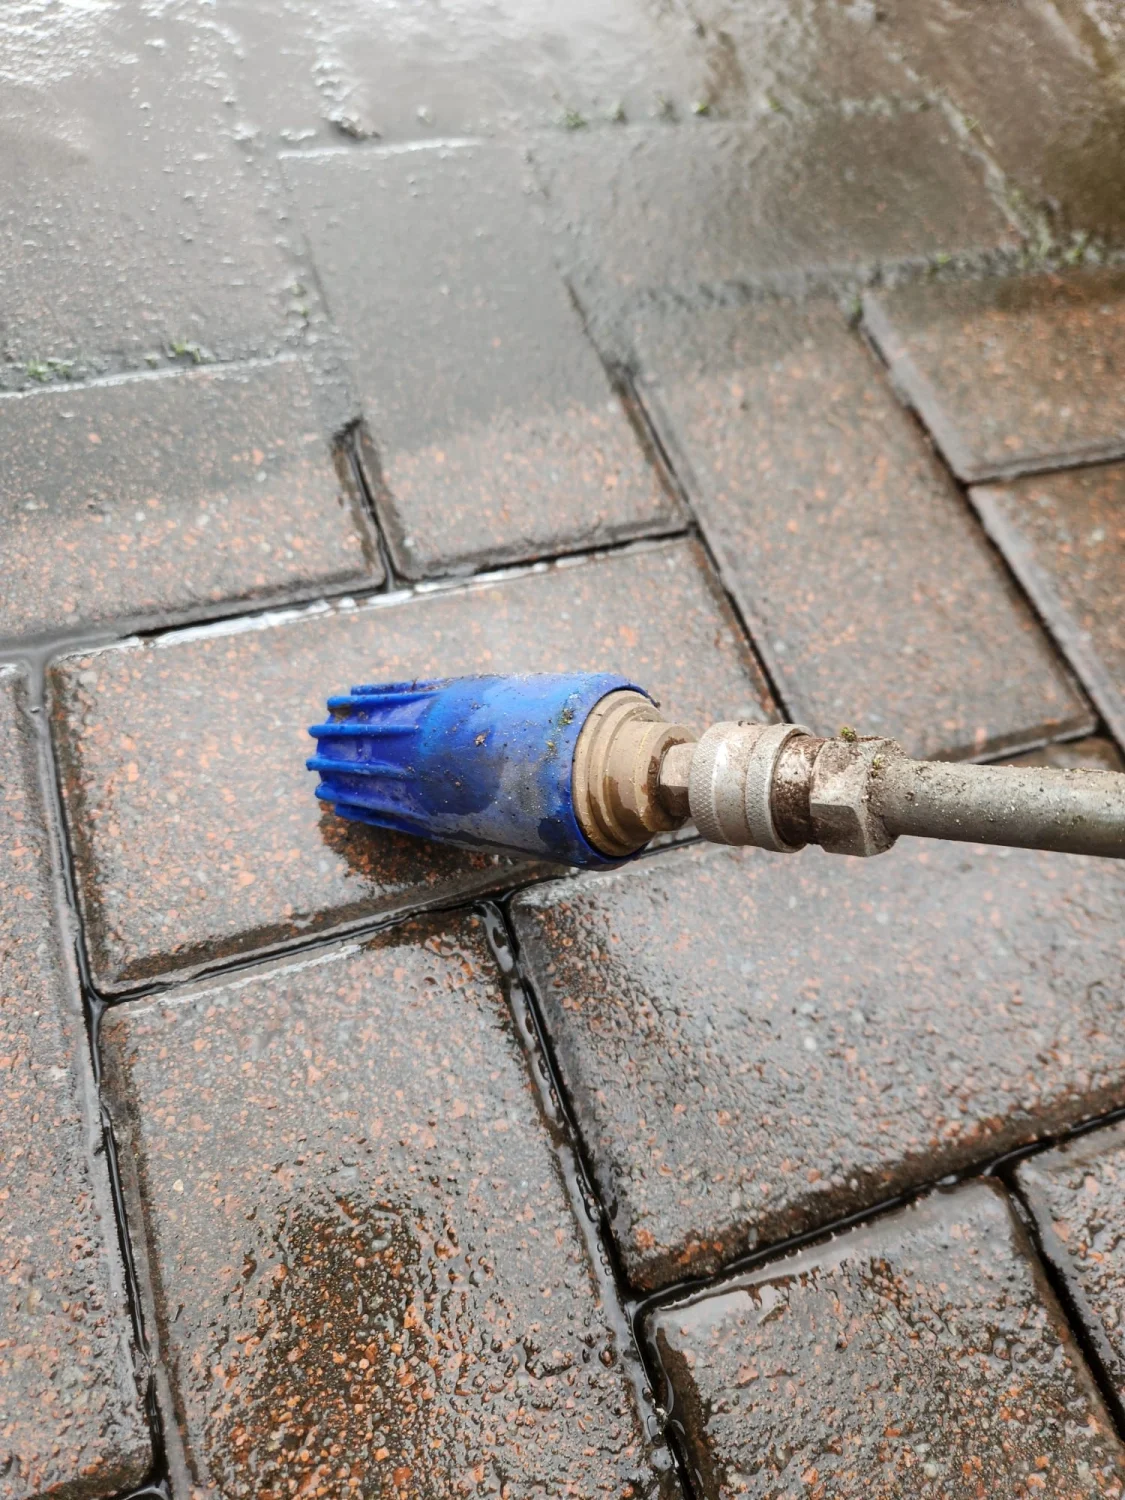
Don’t forget to rinse down the driveway or patio. The cleaning process can leave dirt and water stains, so it’s important to go over these areas with a power washer or hose. This gives the outdoor areas a fresh look and ensures no streaks or stains are left behind. It’s also a great way to remove any soap or cleaning solution residue that could harm surfaces over time.
Final Clean-Up
The final clean-up includes picking up any remaining debris and making sure all areas are left spotless. You should also ensure that tarpaulins are removed carefully and that everything is packed up and disposed of properly.
Make sure that all tools and equipment are packed away, and check the area one final time. Take a moment to admire your work, but remember to double-check that everything has been cleaned thoroughly. Sometimes, it’s easy to miss small details when you’re in a hurry, so give yourself time to be sure the site is perfect.
Communication with Neighbours
Before leaving the job site, always check with the neighbours to ensure they’re happy with the result. While you might have cleaned their side of the fence or wall, it’s important to make sure everything is as expected. This is especially true if debris or cleaning products might have drifted into their yard. Being considerate and asking for feedback will help you maintain a good reputation and show your commitment to professionalism.
The post-roof clean-up might not be the most exciting part of the job, but it’s incredibly important. A proper clean-up not only helps maintain the aesthetics of the home and surrounding areas but also ensures that the property is safe and well-looked after. From using tarpaulins to protect the ground, clearing debris with bin bags, and cleaning up neighbouring areas, each step contributes to a professional finish.
Don’t forget to rinse down patios, driveways, and gutters, and always take the time to communicate with your neighbours. It’s these small details that make a big difference and leave clients feeling satisfied with the work you’ve done. So, while the roof cleaning itself is the star of the show, the tidy-up is what truly completes the job.